Tuesday, September 27, 2011

Space Wolves

I am not entirely sure why, but a few days ago I decided to get an idea of what I had in my Space Wolves with the idea of maybe selling it off. Other than waiting for Tomorrow's War (from Ambush Alley Games) and using them for that, I did not figure they would ever see much table time again. Aside from the occasional planned game with friends who were starting up 40k armies, I have played 40k less than a half-dozen times in 2+ years (maybe more, I got several small games in when the new codex came out).

For some reason, I was thinking I had maybe a grand in them. I half-jokingly told a guy at my LGS in CO that I would sell everything I had for $500, and he almost took me up on it. It took an evening to go through the list, but the total was about twice what I was thinking. To say I was a bit stunned was an understatement. All I can say is that since I started collecting them in 2003, it always seemed like a little here, a little there.

Anyway, because I would like a record of what I have with pictures, I decided to post here with all the info. Questions? Interested in something? Let me know.


First, the list. I abbreviate the weapons, and dont even bother mentioning specific wargear I modeled.

HQ:
- Logan Grimnar
- Ragnar Blackmane
- Njal Stormcaller (1x Terminator, 1xPower Armor)
- Wolf Priest Ulric
- Rune Priest Terminator
- WGBL on Thunderwolf - BP/FB
- WGBL - Terminator - AC/FB
- Wolf Priest/Rune Priest - PP/PW
- Wolf Priest/Rune Priest - BP/PW

Elite:
- Iron Priest w/1 Thrall
- Iron Priest on Bike
- Dread - PC/DCCW/SB
- Dread - AC/DCCW/HF
- Dread - TLLC/ML
- Dread - TLHF/DCCW/SB
- 6x Sniper Scouts
- 6x Bolter Scouts
- 5x BP/CCW Scouts
- 2x BP/PW Scouts
- Scout Singles - PP/CCW, HB, ML, MG, PG

Elite (Wolf Guard - Power Armor):
- Jump Pack - PP/PW
- Bike - FB
- 3x Magnet/SS
- 3x BP/PW
- 2x B/PF
- 2WC
- SB/PW
- SB/PF
- PP/PF
- B/PW
- PW/PP
- PP/FB (Wolf Captain)
- BP/FB (Wolf Captain)

Elite (Wolf Guard - Terminator Armor - Old Metal Models):
- Sgt - SB/
- 2x SB/PF
- 2x SB/PW
- SB/WC
- HF/PW
- SB/CF
- AC/CF
- AC/PF
- Cyclone - TH/SS
- Cyclone - 2WC

Elite (Wolf Guard - Terminator Armor - New Plastic Models):
- SB/TH
- FB/SS
- 2WC
- TH/SS
- AC/WC
- SB/PW
- 2x SB/WC

Troops:
- 11 Grey Hunters - 2 Magnets, BP/PW, B/PF, 7 Bolter
- 11 Grey Hunters - 2 Plasma (PG), PP/CCW, B/PF, 7 Bolter
- 16 Blood Claws - Magnet, Melta (MG), BP/PF, PP/CCW, 12 BP/CCW
- Rhino
- Home Made Resin Drop Pod (modeled off of the old Forge World Version)
- 1x Standard Bearer (B/PF)
- 1x Magnet (model with a magnet for changing out special weapon)
- 2x Test Models (paint/design tests)

Fast Attack:
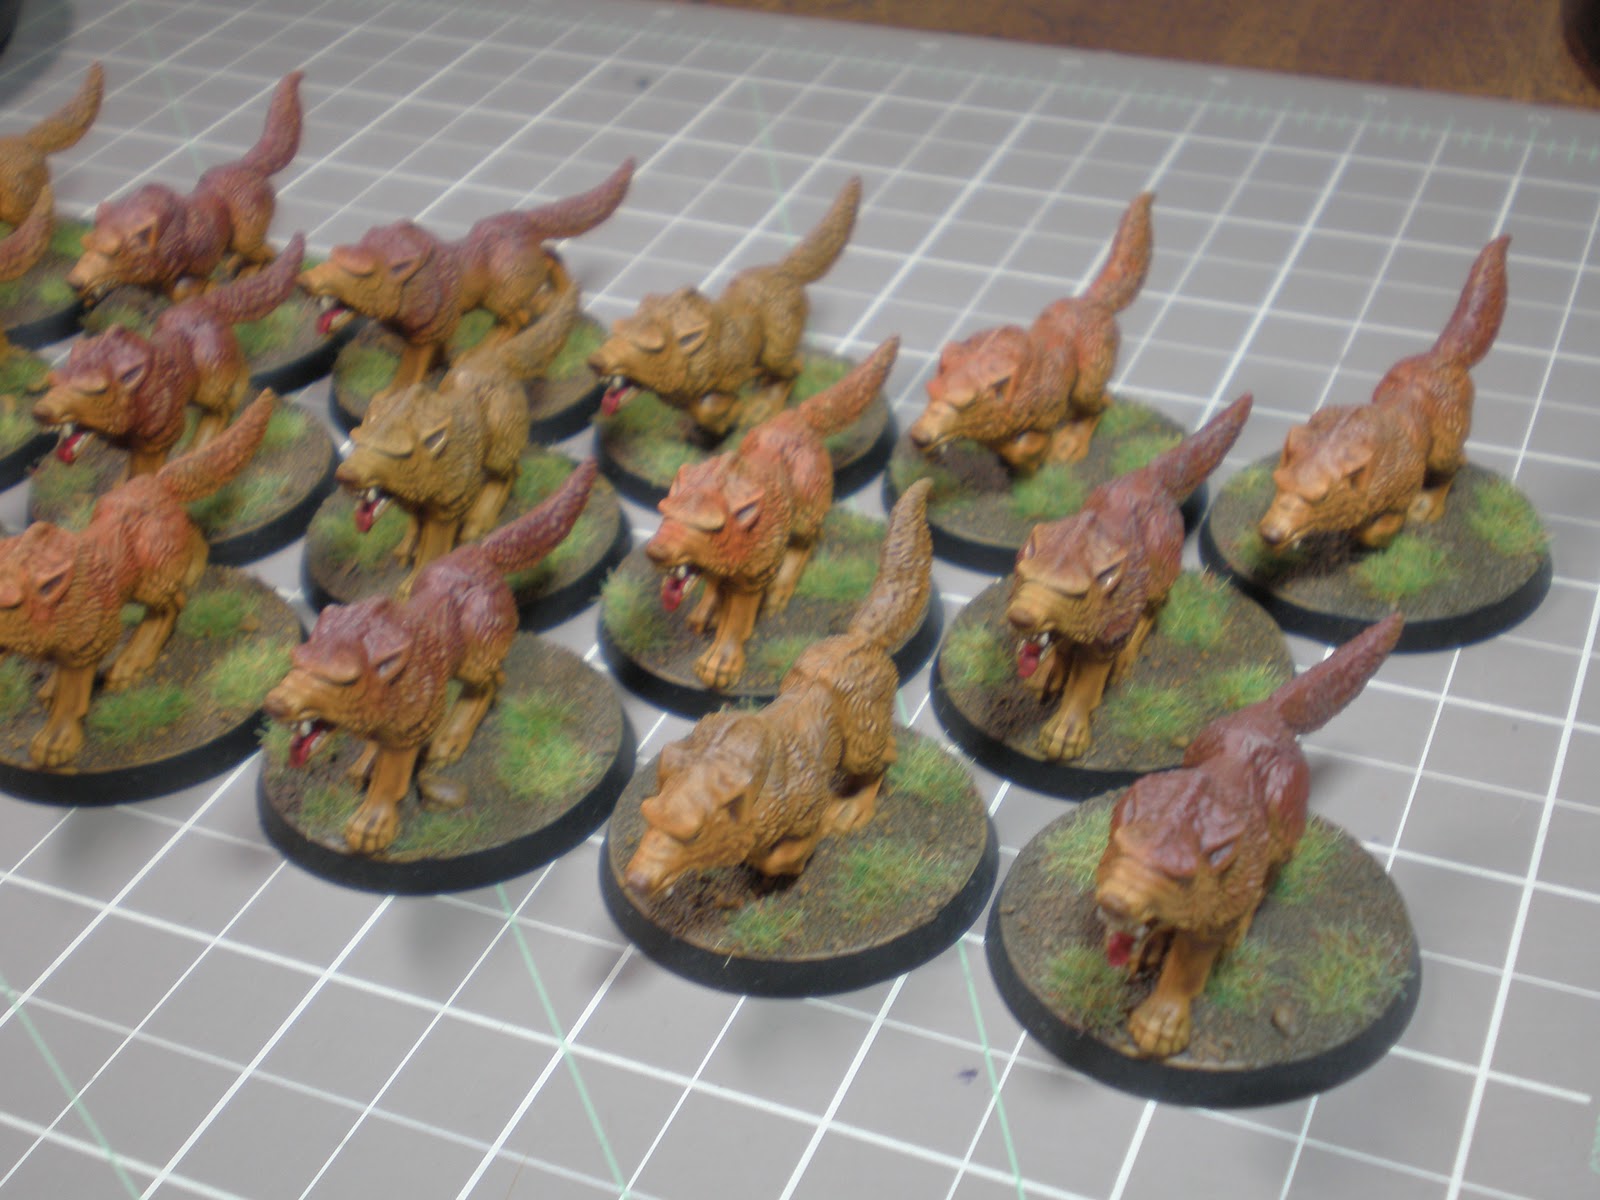
- 17 Fenresian Wolves
- Land Speeder - Multi-Melta
- 8 Bikes - PF, MG/Flamer, 6x BP or CCW

Heavy Support:
- Land Raider
- Vindicator (Old Version)
- Whirlwind
- 6 Long Fangs - 2 ML, 3 PC, 1 BP/CCW

Misc:
- Ragnar Statue
- Books, Counters, Painting Guides, Decals, etc etc.


I seem to remember having a full squad of Jump Pack Blood Claws, but they are not here. I guess I traded/sold them when the new codex came out, which makes sense, they became fairly useless if memory serves. I also seem to have sold a NIB Drop Pod and Rhino, but I think I remember that.


Now.. pictures:


Drop Pod - Models for Reference

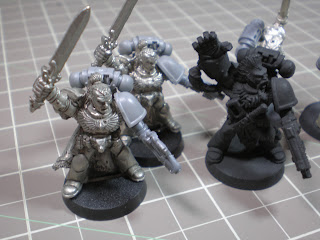
"Wolfed" Plastic Scouts

"Wolfed" Plastic Scouts


Unit that is furthest along with painting.


Inside Joke turned Custom project


Wolf Guard figure with a Privateer Press Wolf Figure


The AoBR Generic Dread modified - All Plastic


HF removed and SB added

Made before GW produced a PC for Dreads from a LF PC.

Searchlight removed with new rule set


Magnets on arms to allow for different weapon selection


Lightning Claws modified from Terminator arms before GW made non-Term LC's


Goblin Wolf Rider Wolf - Finished


Different shades on pelts


Logan - Painted by a friend because he was "bored" - One of my best models


BA IP on bike, modified heavily


Turret is not attached and movable


Full Army Photo


Finally, I want to leave the post with some close up photos of my finished test model.  This is the one that convinced me that dipping my figures with the Army Painter Strong Tone was the way to go, and that the "Space Wolf Grey" (aka - Baby Blue) shade was also going to be the best looking.  Other than Logan and the Wolves, I have two GH packs and the Thunder Wolf that are base coated and on their way to looking like this.  I came down with a sudden case of "reality" and never got them finished or any other unit started.


Tuesday, September 20, 2011

Terrain: Fuel Station (1.5/2)

I have been held up with figuring out how to base the ground on this one, but I did get the fuel tanks done and rusted a bit. I also noticed a lack of finished pictures of the fence. This should do for both.


The rust effects were added using Reaper Rust Brown for the spotty rust patches, and a watered down Acryl Model Master Rust for the 'leak'.

The spotty rusting I did based on this video: http://www.youtube.com/watch?v=NnPkPG7iafQ

I picked the storage tanks up from a local (Colorado Springs) Model Train store. They are Cornerstone HO Scale Modular Storage Tanks: http://www.hobbylinc.com/htm/wrr/wrr3197.htm

Monday, September 12, 2011

Matte Coat for Minis

My usual process for finishing a figure involves a layer of protective clear coat, then a matte coat to take off the shine of the clear coat.

Clear coating can be done with just about any product. I prefer Krylon Crystal Clear, I have not had any of the yellowing that some clear coats are said to produce. Other times, when I used the Army Painter dip, I didnt bother with a clear coat.. the dip does a good job on its own.

Following that, I usually use Testors Dull Cote (Link to TheWarStore). When digging through my box of spray cans, I found a can of The Armory Matte Sealer (Link to Paizo). I do not recall why I purchased this, but decided to give it a try since my dull cote was nearly out.

I proceeded to coat an army of Huns I had just finished for DBA. While there is a pleasant vanilla smell when you spray the stuff, the coat went on thick in some places, thin in others, and produced a 'frosted' look when it dried. I could tell right away that something was not right, but wanted to let them dry fully to see if it went away. An hour later, they looked worse, having a frosted look under close light. Even with regular room lights, the frosted look was still there on several models.

When I had finished a single contractor figure (posted in a previous blog) I had a similar problem. I did several layers of the matte, and finally just hit it with dull cote to fix it. Not sure why I thought it would be better this time, but the same thing happened.

A week later I hit them all with a quick spray from the Testors Dull Cote, and the problem was fixed. I am willing to accept that it might of been a bad batch from the Armory, but I dont think I am going to take a chance on another can. The Dull Cote is in a much smaller can (3oz vs 12oz) and about the same cost ($5.00-$6.00), but thats going to be the Matte I use for my figures from now on.

'Frosted' Huns

Close up of 'frosting'


Painted Hun - Dull Cote - Armory Matte

The last picture lets you see the difference.  Plain, untreated miniature on the left.  Huns that were hit with the Dull Cote after the armory.  Then just the Armory.  The frosting is really visible on the static grass, but the whole figure just looks coated to me.  The camera didnt pick up how readily visible it was. You can even see in the first picture how it was still shiny through the matte.

Terrain: Fuel Station (1/2)

Finding a package of storage tanks in my box of terrain, I got inspired to make a piece of terrain with them.  That got me to thinking when I had seen tanks like that before.  I remember working at Transit and having small fenced areas where the city would keep things in big metal tanks.  Simple enough, right?


To start I took a hunk of 3mm MDF I had as a scrap (it was originally going to be a base for a building, until I decided not to base them like that).  I measured 2mm in from the edge and drew the outside line.  Then I took the length and divided it up so that there would be posts at equal spaces.  4mm I think?  It will vary based on the piece, just make it so that they are evenly spaced.  I also laid down the basic idea of what I wanted to do, with the two open spaces in the front center for the 'entrance' and the two places there would be holes in the fence (right middle, and top left).


Be sure to bevel the edges somehow.  I used my Dremel tool with a grinding wheel, though an actual sander would be much better.  Its a big difference between the two, as you can see.


I used another scrap to try techniques out on before I used them on the actual piece.  Very helpful, I would suggest getting a scrap and doing it to get them down.  This way, I found out that just hammering the nails in for the posts was not going to work so well, as well as how to get the right angle to bevel the edge, how to attach the fence, etc.


Using the dremel, I drilled holes at the points marked on the layout.  Top down, so if it splintered it would be on the bottom and I could clean it up.


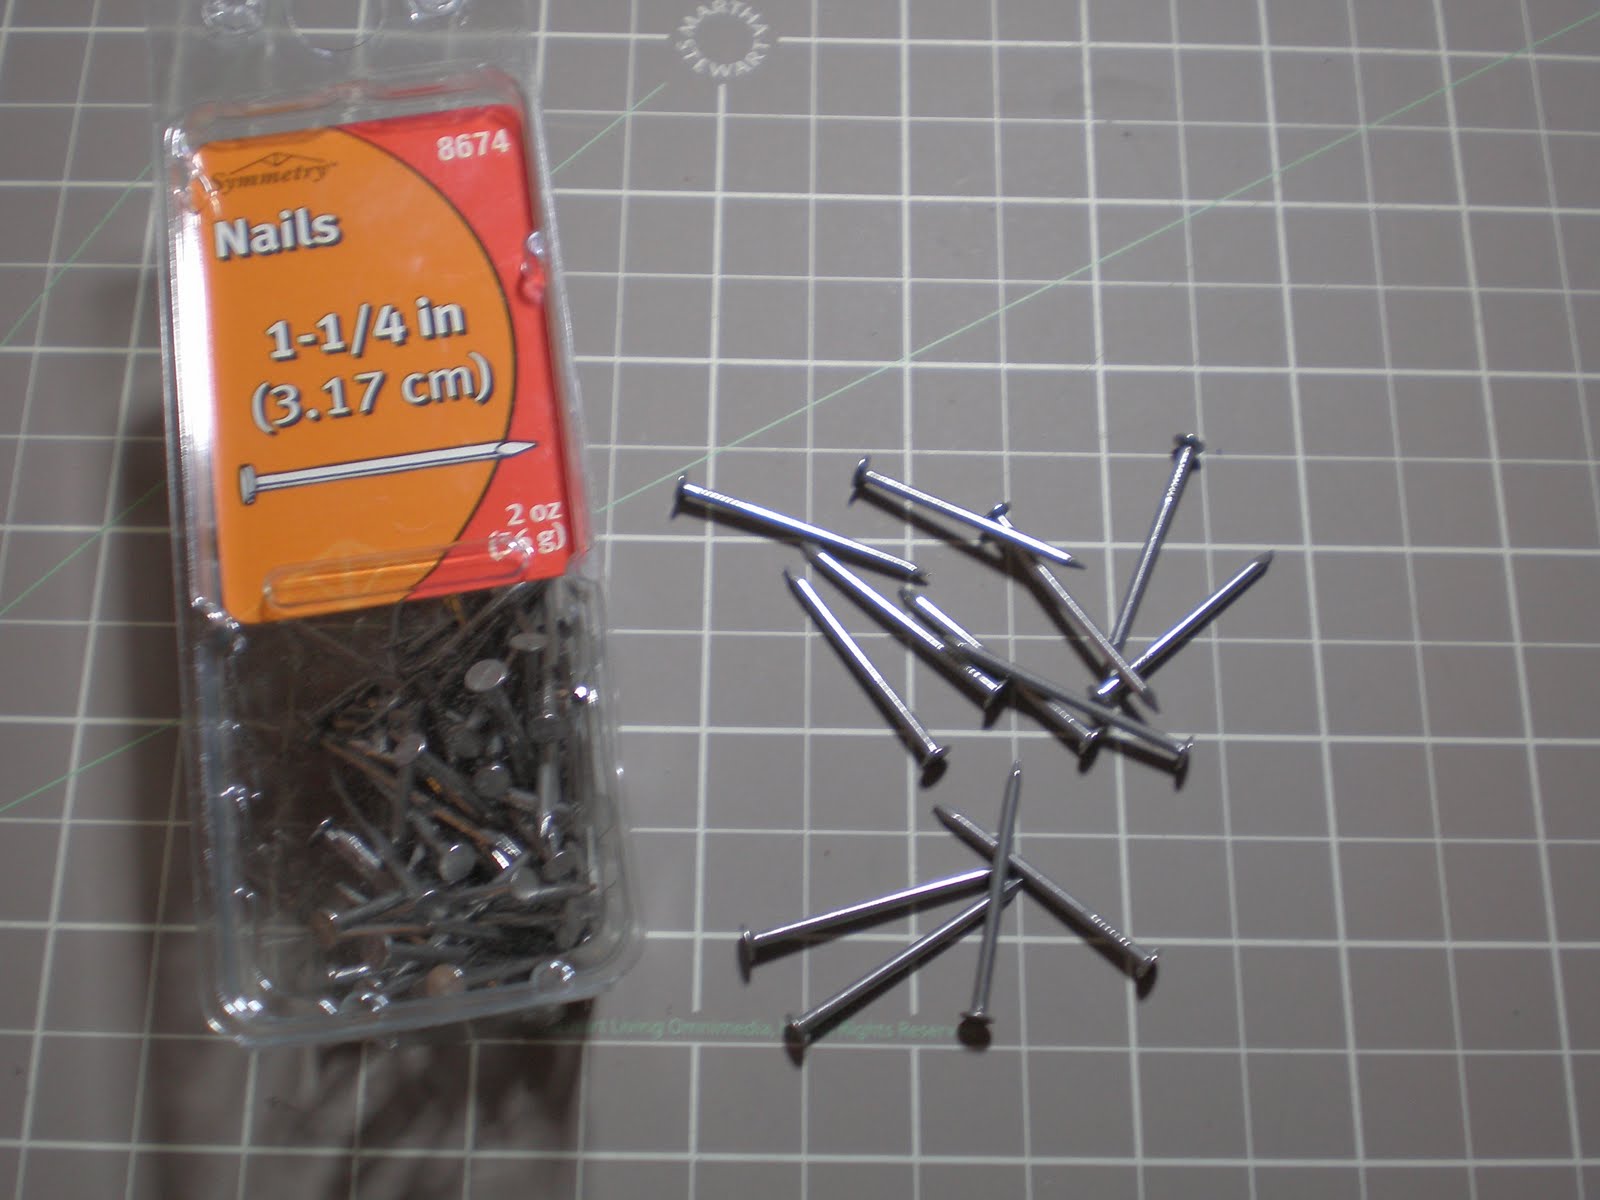
I then took a pack of nails that were about the right height for a 15mm figure, and ground the ends down.  Again, fairly simple.  I would advise the standard safety gear when working with grinding metal and wood.  No blood this time, but a nail did get away from me briefly.


I like for my things to be as precise as I can make them, so I took a larger drill bit and went in to drill out a notch for the head of the nail to rest in.  Just takes a steady hand, though I imagine there is an actual tool that would do it in no time.  Really wish I hadnt given away my drill press.  You just need to make sure the post will stand up straight in it.


I put all the nail posts in and used some Woodland Scenics white glue (I believe this is what they call PVA glue in the UK?  Regular US Elmers White glue doesnt work well at all) to keep them in place.  I used a hunk of granite to keep the base down so they would glue in the right position.  If you need one, most counter-top places that work with granite will hand out samples, and they work great for a variety of shop uses.


While the glue was drying on the posts, I started working on the 'fence'.  I went down to ACE hardware and in the screen door repair section they have rolls of different types of mesh.  I settled on an aluminum mesh for about $1.50 a foot?  For my future projects I will look for the diagonal wire mesh that I am told they sell at car repair shops, because some important lessons were learned with the aluminum mesh.  First, you have to be very careful how you cut the stuff so it doesnt twist and deform.  A sharp pair of scissors is a must.  Then, I had to bend the 'top' and 'ends' of the mesh over so it had a finished look (the bottom I left raw).  Again, I measured it up against a post, then a figure, and got the right pattern.  In my case, there are 15 'boxes' as well as the rough top and bottom.

Important note - When I purchased the mesh, I picked up some 22g wire to attach it to the nails.  This stuff was way too thick and difficult to work with.  I found that the strands of aluminum mesh, when pulled out, work great.  So, if you cant find any wire small enough, consider picking up a foot of the screen mesh to get all the wire you will need (once you pull it apart).  Cutting the mesh up makes a horrible mess, so keep that in mind.


Once the posts were dry I got an idea of how long I needed to make the fence lengths.  I needed three sections of it, and I measured over so I could 'distress' the fence in some parts to look damaged.  Before I started working on those, I used some CA+ (Zap-a-Gap is what I like) with some zip-kicker (the stuff that makes it harden and thicken quicker) on the bottoms of the nails, then a layer of white glue to fill in the gap.  While that dried I cut and fixed up my fence parts.


I brushed a strip of white glue on the post, then laid the mesh against it.  I put the corner bend in first using a spare nail, so I wouldnt have to fiddle with it while glue was involved.  Taking heavy objects I had nearby, and sticks to insure proper fit, I pushed everything together and let it dry.  Note - Push objects next to the post but not on it.  The stick on the granite block got some glue on it, and I had to reapply and position it differently when I took the stick off.


After the glue sets, I took a piece of the mesh wire and attached it physically to the post.  Just a pair of tweezers was enough to twist it, then a cut and fold.  That way, if the glue later fails, I can just reapply without having to do the whole process again.  Looks good too.  You could do two ties, top and bottom, but I felt that was overkill.


Next, I distressed the end of the fence.  I wanted this section to look like someone drove a vehicle through it, so I bent the posts (something I would suggest doing before you glue them down, I had to be very careful not to break the hole they were put in) and tore up the fence.  I just cut it at odd angles, then using those tweezers I bent it all up.  Then I repeated the steps for the rest of the fence.

How I modified the other holes, and the rest of the project will be in my next post, once I get pictures of it. 

Thursday, September 8, 2011

Still Posting...

Its been a few weeks since I posted anything, so sorry about that.  The lack of a decent camera slows it down a bit.. just isnt the same posting about my project without some photos to go along with it.

Currently in the works are:
- FoW German Grenadiers
- FoF Russians
- FoF Americans
- Terrain

The Grenadiers are almost done, but when playing the weekend before last one squad took a spill off the table.  I refused to look at it at the time, and have been hesitant to take them out of the foam to assess the damage.  Going to have to put two figures back on the base and redo the basing.  Might have to touch up the paint, which is why I am avoiding it. 

The Russians and Americans are a WIP while I figure out the colors to use.  I have an idea of what I want, but not a method to make it happen.  So, once I got the base coat on, things stalled.

The Terrain collection has been receiving all my attention.  A very cool post on the AAG Forums (Link and Link) lead to a discussion about templates, and since I tend to really slow down on a project when I have to start from scratch it was easy to start.  I currently have five buildings in various stages of completion (all assembled, just waiting to coat and paint them).  Another post on the AAG Forums (Link) got me thinking about adding mesh fences to a base for an 'oil depot' of some sort.  That, and a pack of model railroad storage tanks I picked up awhile back, and I have another project.  Need to test out the fencing first, but it looks good.

Tomorrow I should have some photos up.  Working on getting enough stuff to fill a 2' x 2' table, and then running some Force on Force demo's at the local store, or maybe Ambush Z.  Either way, a box of cheap and easy terrain is a must.

One of the goals I set for myself when I got started with all of this was to do my best to search for guides to painting and building things and compile them.  Then, if someone else has not written something (or even if they have), I was going to write my own process and guides so that folks who like what I have done have a way of reproducing it.  Nothing is quite as frustrating for me as seeing something that is EXACTLY what I had pictured in my head, only to find out that the person that did it either does not remember how, or wont share the info.  Unless you do it for a living (and even then), I guess I dont understand why some folks feel that way.  So, once I have a few written and the necessary photos taken, I will start another blog that is nothing but how-to guides for everything I do.  I wish I would of had one to follow when I got started, and since I have not found any online, I might as well do something about it.

For anyone in the Tucson area who has run into the same issue I have regarding the lack of model stores (a position usually filled by Hobby Town, but in this town I would avoid Hobby Town at all costs.. they only do RC cars, and the staff is incredibly rude when you ask about anything that isnt RC related), the ACE Hardware on 22nd and Kolb is the place to go.  Model train supplies, plastic sheeting, airbrush supplies, and all the random odds and ends you might need but cant find at 'mainstream' stores.  The staff is also very helpful and friendly, which is always a plus.