Showing posts with label Force on Force. Show all posts

Saturday, October 8, 2011

AH-64D Apache Longbow Flightbase

While waiting for miniatures to dry last night, I figured it was a good time to get a flight base put together.  I had seen these for sale here and there, and figured it couldnt be that hard to make my own.

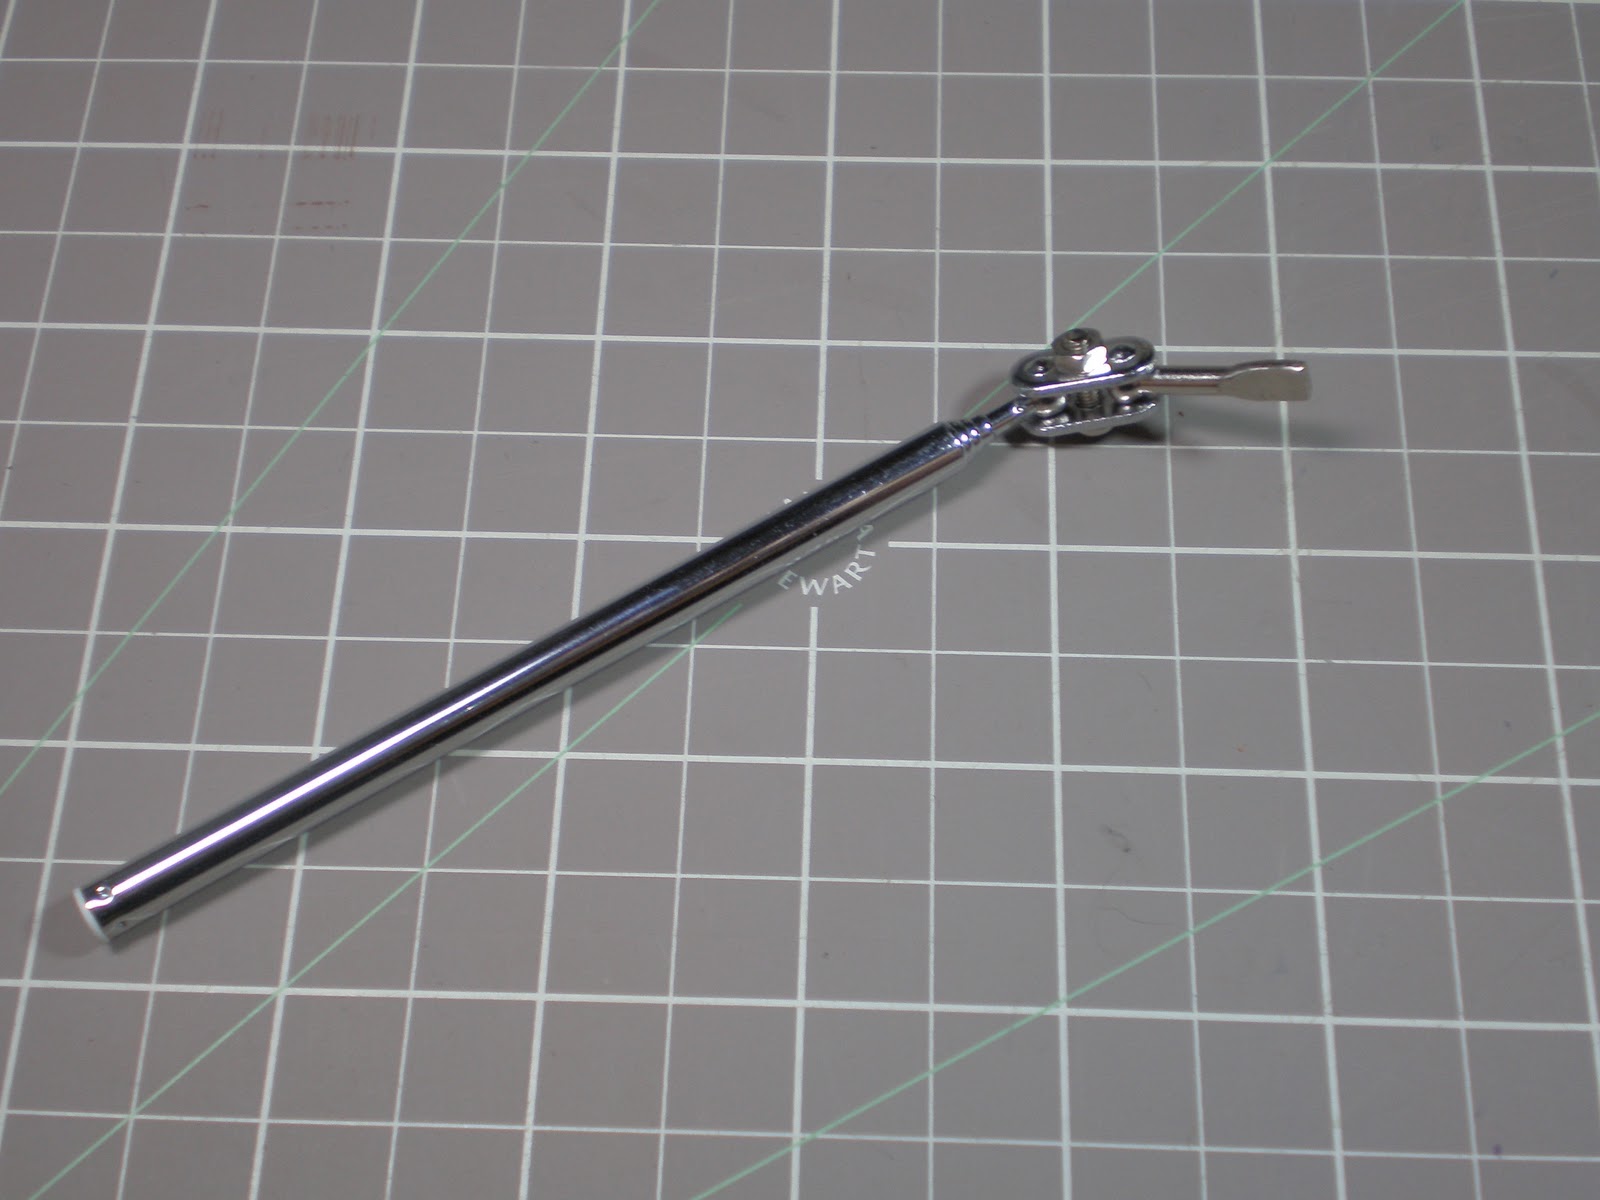
To start with, I had my diecast Apache Longbow, a base, and a cheap mechanics mirror from the local auto part store.


First thing you do it remove the mirror.  Just a pair of pliers at the edge will let you get a grip on the glass and remove it without breaking.  Then you twist it around until the weld fails.  It should leave you with a rod with a flat end.


In the bottom of my diecast model was a hole for the flight stand.  I took that hole and drilled it out a bit further after cutting the flat tip off of the end of the rod in the picture above.  You could also take the flat end and cut/drill out a flat slot for it, but since I had the tools (in this case, a 'dremel' tool) I cut it off and drilled out the hole.


Once you are done with that, you will need to remove the part from the rest of the rod.  Mine was a screw with nut on the other end, easy enough to take apart.  I then glued it into the bottom and allowed it to set.


While waiting, I took the round base and put a nail through the center.  Next time, I would use a bigger nail that fits into the rod better.  Once it is in, you will want to cut it off so that the rod can telescope back down.  It is just needing to be far enough in so you can apply glue so the rod is secured firmly to the base.  Try to make sure it is straight.


Once it dries you can reattach the helicopter if you want.  I wanted to base mine, so I kept going.


Basing was the same as for the rest of my desert miniatures.  A layer of sand/gravel glued down, a layer of country tan, some Woodland Scenics Earth Undercoat, a drybrush of Bone White, then some "Arid" static grass.  
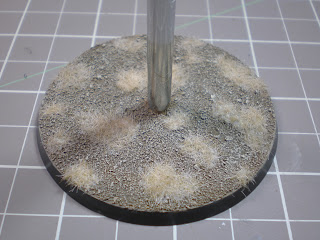


The end result is a flight base that should blend well with anything else on the table, as well as one that can fly low or high as necessary for the desired effect.  It can also tilt to make for strafing runs or such.


AH-64D Apache Longbow (Wikipedia)

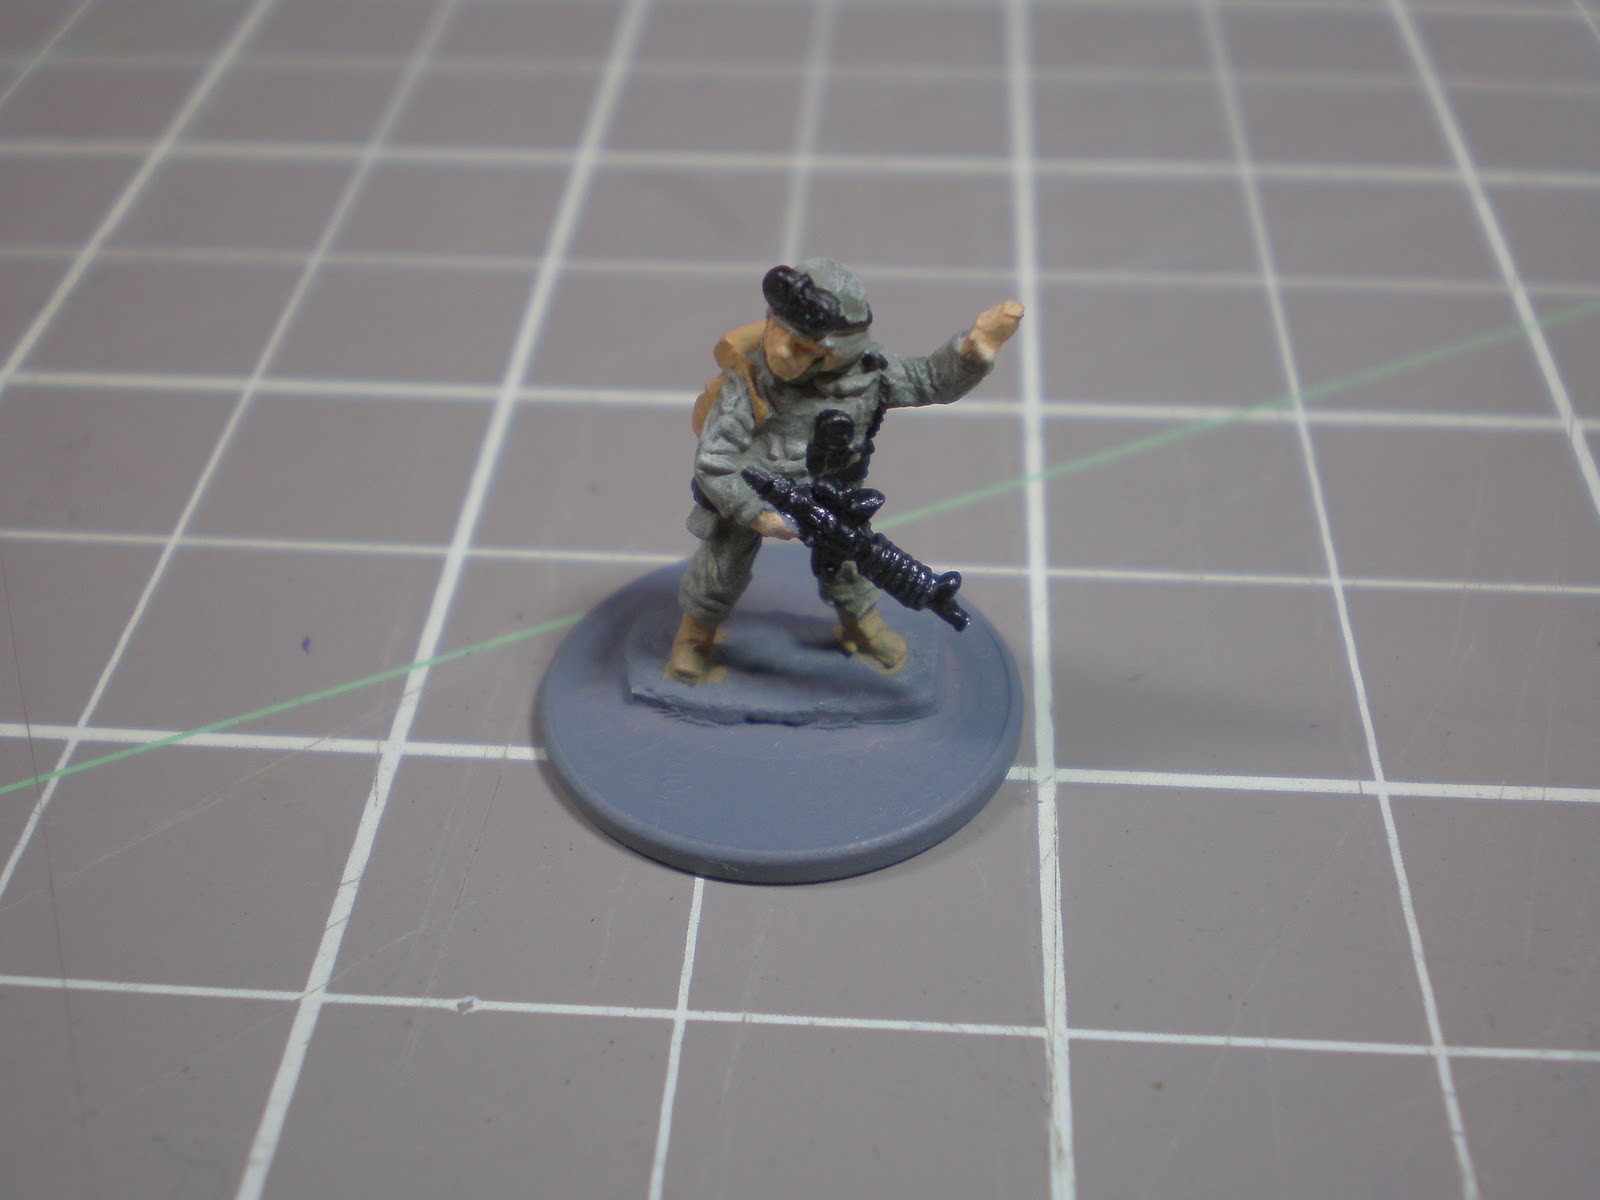
US Army Fireteam 15mm

Finished this project up and now its time to post it.

The intent with painting was to present the ACU digital pattern in 15mm, without actually DOING a digital pattern (impossible at this scale). This involved a bit of drybrushing, and the shade/wash at the end. I am content with it, but I might try playing around with it when I do the next batch if these are still not sitting well. Not that there is a problem, but if I can find a better way, you know?

As for the gear, I had originally considered doing one squad all in coyote/tan, and another all in black, but didnt think that would look right. One squad is coyote, the other is a mix of coyote and black. Want to get the goggle covers in a color other than black next time.

For the bases, I am happy with the desert basing for now. Simple, looks about right, helps them blend but doesnt take the focus away from the figures.

Now, for pictures. Painting details at the bottom.

Full Fireteam + Medic

Fireteam Leader


SAW

M203

Squad Leader


Medic


Rifleman


Painting Guide:
Rebel Miniatures US Army
Primer - Krylon Grey
Skin - Flat Flesh
Uniform Base - Grey Green
Dry Brush - Bone White
Dry Brush (VERY easy DB) - German Camo Beige
Boots - 1/2 Desert Yellow 1/2 Khaki
Guns - Greman Grey
Packs (Coyote) - Rucksack Tan (P3 paint)
Packs (Black) - Black
Goggles - Black
Chin Strap - Reflective Green
Dip/Shade (painted on) - Army Painter Strong Tone

Base:
Glue Gravel on (preferably before you apply primer)
Apply Country Tan (Apple Barrel 'cheap' paints)
Woodland Scenics Earth Undercoat
Drybrush - Bone White
Static Grass - DP9 "Arid"
Black Outline (colors for special figures)

After all of that I apply a layer of Testors Dullcote.


Also, because I got them done at the same time, my two contractors are finished as well:


Tuesday, October 4, 2011

US Army Fireteam WIP

Still playing around with getting ACU to look right in 15mm.  I think I have multicam down, but ACU just doesnt look right to me.  Even still, I thought I should post the progress.  US Army Rifle Squad, plus a Medic.

Two Fireteams, Medic, and Squad Leader

Close up Squad Leader front

Close up Squad Leader rear
 Tomorrow I will give them a 'dip' (more like a wash, I dont like to dip the 15mm figs), finish up the bases, and post another set of pictures.

Wednesday, August 24, 2011

PMC Finished (pending basing)

Just needs to be based, but otherwise its done.  Had a bit of a SNAFU last night with my matte sprays, it ended up getting.. 5 layers?  In the end, it doesnt really show.. which is good.


Edit: Here is what I was basing the paint job off of, my PMC Airsoft outfit.


Tuesday, August 23, 2011

"WW3" Russians

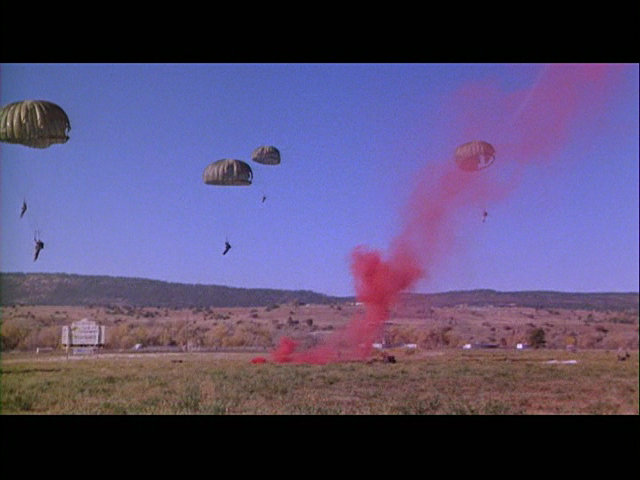
I spent yesterday afternoon getting a layer of primer on my two squads of Russians.  They are advertised as Spetsnaz ( Rebel Miniatures Spetsnaz) but I think I want to paint them as Russian Airborne instead.  Call it a tribute to Red Dawn.  Tried to find some photos of the movie to show you the basis, but I am going to go ahead and guess if your reading this, you have probably seen it.  If not, its worth watching.

Anyway, here is what I did find from the movie:

Soviet paratroopers landing in "Colorado"


There is a scene in here where you see an officer and some paratroopers with the light blue beret.  I should probably re-watch it myself to get an idea of how they looked.  Anyway, in looking for more modern Russian uniforms I found these:


From what I have read, the "Flora" pattern is still in use (similar to the older US Woodland BDU), so they will be painted up like that.  Berets blue rather than crimson.

Main reason I am posting all this?  So my signifigant other isnt troubled by the dozen or so tabs I have open on the browser that is slowing it down.  Now, I can just reference here when I start painting.

Oh, and because I found it amusing, this is a photo taken (I think) by a bunch of the extras from the movie when they went out for Lunch while filming.


PMC Multicam almost done!

While somewhat stalled with my germans (I cant tell who has camo smocks on so as to paint them properly!), I pulled out my 15mm Moderns and started working on them.  I must say, it is somewhat refreshing to have just a handful of individual models to paint, rather than an equal number of bases to paint, each base having 3-4 figures.

So, there is a story with my choices for moderns.  When I picked up Ambush Alley (the book before the new Force on Force was out) I was really big into Call of Duty: Modern Warfare 2.  My whole plan with playing Ambush Alley was to, more or less, play a tabletop version of the video game.  I got a unit of Rangers, a unit of Spetsnaz, and some Insurgents.  Since they seemed to be necessary in a few scenarios, I also got a pack of PMC's (Private Military Companies/Contractors).

My intent was to just do generic Contractors, but today while priming my Rangers and Spestsnaz, I got the idea of painting them up like me and my friends when we did Airsoft as a PMC squad.  MultiCam pants, black polo shirt, coyote brown vest, black ball cap, etc.

Somehow, I managed to break through my usual indecision and actually figure out how to paint them up in something that looks like MultiCam, and all in all I think it looks pretty much like the pants I have on (a fairly well used pair of MultiCam pants).  So, here it is:


It still needs a brown ink wash.  Debating using my usual ink, or the Army Painter dip.  After that, seal, matte, finish base, and done.  Maybe an hours worth of work?

Wednesday, August 17, 2011

Force on Force and German Decisions

Quick one today.

First, played a few games of Force on Force this weekend, and enjoyed it.  I really need to get some 15mm modern buildings made soon though.  Pictures were taken, but are still on the camera.  Also working on a reference sheet for myself for the game before I try it again.  Urge to paint the figures is high, but I want to finish my Germans first.

Second, and on that note, I think I am just going to paint the damn Germans the way I set out to originally.  The bags/gear will all get the proper colors, helmets will be the lighter version of "German Grey" I played with, and I will leave the uniforms the shade that the 'primer' is (Uniform Grey).  Better to have them painted, easy to ID as germans at a distance, and done.. than to please people I dont even play with regarding the color.  Yes, I know it is not historically accurate.  I also know its a 15mm metal figure on a base with a bunch of others, being pushed around a table for a wargame.  Its close enough for now.

That is all.